有些场景下需要使用ARM环境,于是学习下在没有预算或者没有ARM硬件的条件下如何在X86_64平台通过QEMU部署ARM架构虚拟机。
环境准备 这里使用了一台8C 12G Vmware虚拟机,环境是Ubuntu 2204桌面版。
1
2
3
4
5
6
7
8
9
10
11
12
Disk /dev/sda: 60 GiB, 64424509440 bytes, 125829120 sectors Disk model: VMware Virtual S Units: sectors of 1 * 512 = 512 bytes Sector size (logical/physical): 512 bytes / 512 bytes I/O size (minimum/optimal): 512 bytes / 512 bytes Disklabel type: gpt Disk identifier: ED38AC2F-DD48-409F-BC6C-D18D05E08D9A Device Start End Sectors Size Type /dev/sda1 2048 4095 2048 1M BIOS boot /dev/sda2 4096 1054719 1050624 513M EFI System /dev/sda3 1054720 125827071 124772352 59.5G Linux filesystem
桌面版默认使用NetworkManager管理网络,但因为后续有一些网络配置,这里禁用NetworkManager。
1
2
3
systemctl status NetworkManager systemctl stop NetworkManager systemctl disable NetworkManager
进入/etc/netplan,编辑yaml配置网络信息,类似如下:
1
2
3
4
5
6
7
8
9
10
11
12
13
root@develop:/etc/netplan# cat 00 -installer-config.yaml network: version: 2 renderer: networkd ethernets: ens33: addresses: - 192.168 .0 .220 /24 nameservers: addresses: [8.8 .8 .8 ] routes: - to: default via: 192.168 .0 .1
键入netplan apply后配置生效。
启用systemd-networkd管理网络:
1
2
3
systemctl status systemd-networkd systemctl start systemd-networkd systemctl enable systemd-networkd
安装基本工具和qemu相关组件:
1
2
3
4
5
6
7
apt install openssh-server net-tools vim -y apt install qemu qemu-kvm qemu-system-arm bridge-utils uml-utilities qemu-efi-aarch64 cloud-image-utils -y root@develop:/# qemu-img -V qemu-img version 6.2.0 (Debian 1:6.2+dfsg-2ubuntu6.18) Copyright (c) 2003-2021 Fabrice Bellard and the QEMU Project developers
创建armspace目录后,通过qemu-img创建一个ubuntu2204_arm64.img文件,格式为raw:
1
2
3
4
mkdir /armspace && cd /armspace/ root@develop:/armspace# qemu-img create ubuntu2204_arm64.img 30G Formatting 'ubuntu2204_arm64.img', fmt=raw size=32212254720
下载UEFI固件和ubuntu-22.04.4-live-server-arm64.iso文件放在armspace目录:
1
2
3
4
5
6
7
8
9
wget https://releases.linaro.org/components/kernel/uefi-linaro/16.02/release/qemu64/QEMU_EFI.fd wget https://mirrors.tuna.tsinghua.edu.cn/ubuntu-releases/22.04.4/ubuntu-22.04.4-live-server-amd64.iso root@develop:/armspace# ls -lrt total 1986756 -rw-r--r-- 1 root root 2097152 1月 13 2018 QEMU_EFI.fd -rw-r--r-- 1 develop develop 2032332800 2月 20 08:52 ubuntu-22.04.4-live-server-arm64.iso -rw-r--r-- 1 root root 32212254720 4月 14 23:12 ubuntu2204_arm64.img
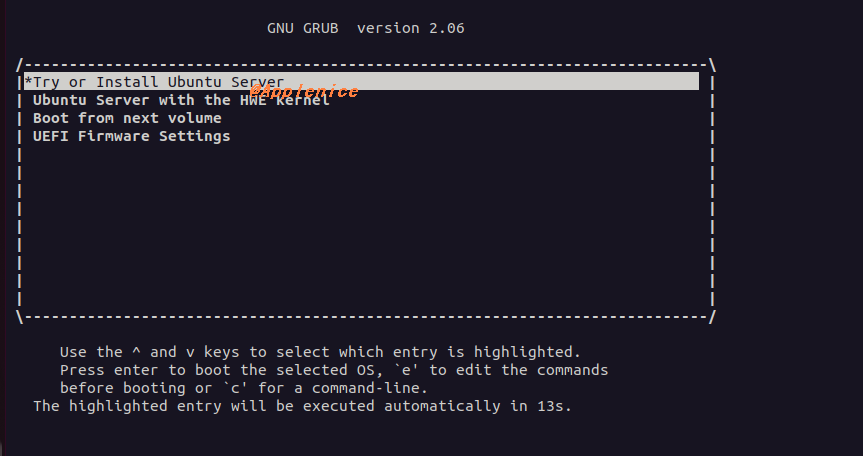
QEMU创建ARM虚拟机 启动安装 1 qemu-system-aarch64 -m 4096 -cpu cortex-a57 -smp 4 -M virt -bios QEMU_EFI.fd -nographic -drive if=none,file=ubuntu-22.04.4-live-server-arm64.iso,id=cdrom,media=cdrom -device virtio-scsi-device -device scsi-cd,drive=cdrom -drive if=none,file=ubuntu2204_arm64.img,id=hd0 -device virtio-blk-device,drive=hd0
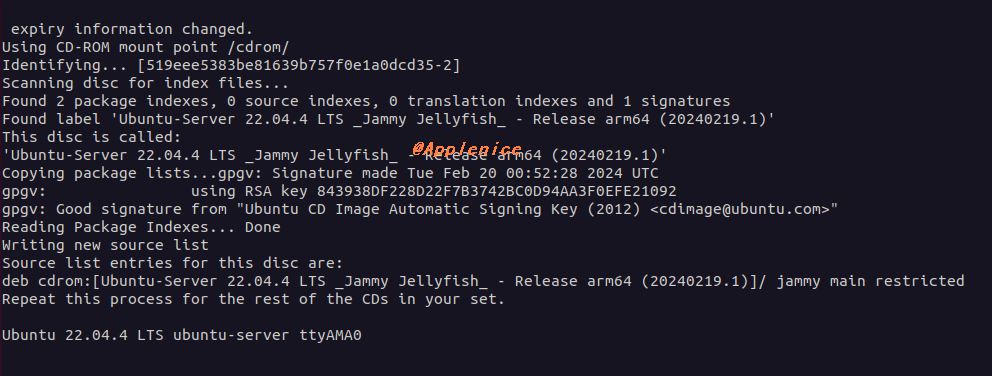
启动后等待ISO加载,过程会比较慢,不要退出或者中断:
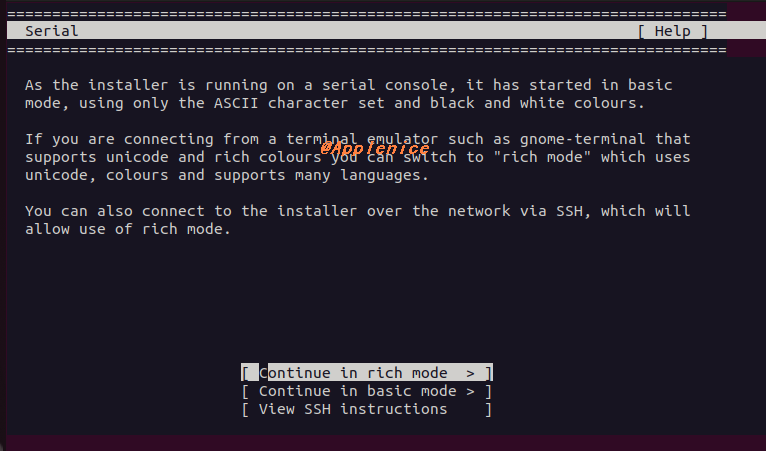
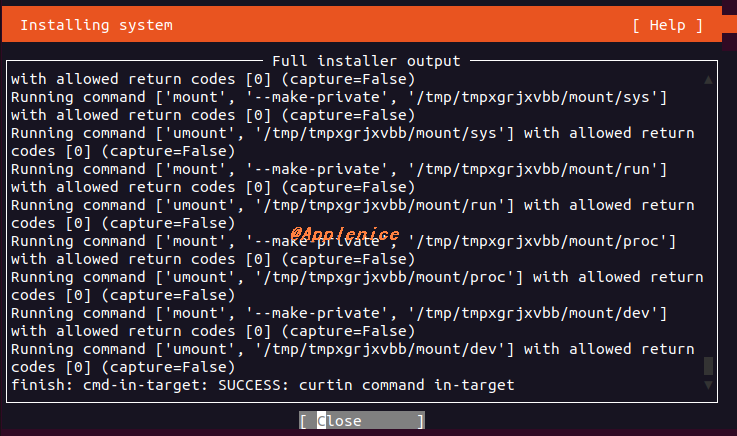
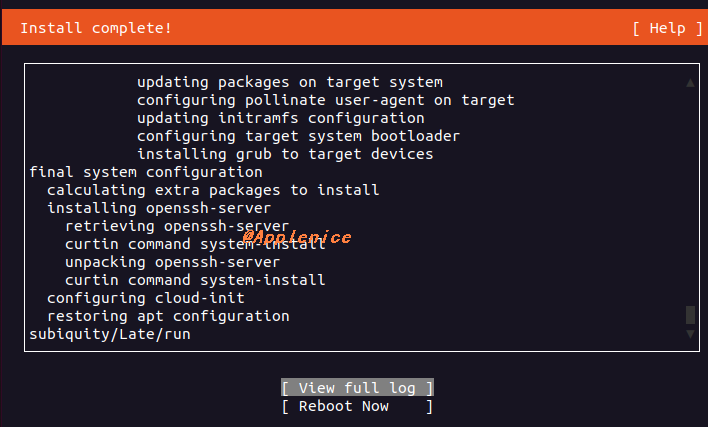
等待即可进行正常的文本安装配置流程。但安装过程也会比较长,需要耐心等待,我这里等待了近1个小时。
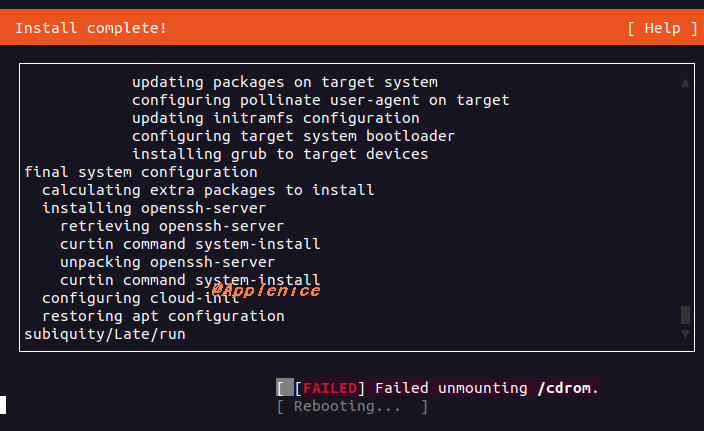
安装完成后需要unmounting /cdrom,可以通过kill -15关闭QEMU安装进程。
1
2
3
4
5
root@develop:/etc/netplan# ps -ef | grep qemu root 3881 2358 99 4月14 pts/1 01:30:28 qemu-system-aarch64 -m 4096 -cpu cortex-a57 -smp 4 -M virt -bios QEMU_EFI.fd -nographic -drive if=none,file=ubuntu-22.04.4-live-server-arm64.iso,id=cdrom,media=cdrom -device virtio-scsi-device -device scsi-cd,drive=cdrom -drive if=none,file=ubuntu2204_arm64.img,id=hd0 -device virtio-blk-device,drive=hd0 root 5130 4378 0 00:11 pts/4 00:00:00 grep --color=auto qemu root@develop:/etc/netplan# kill -15 3881
搭建网桥 1、新创建一个qemu0网桥
1
2
brctl addbr qemu0 brctl show
2、将00-installer-config.yaml通过改名的方式取消配置
1 mv 00-installer-config.yaml 00-installer-config.yaml.bak
3、同时新创建01-qemu.yaml配置,配置中qemu0将用到ens33网卡,该配置启用后,qemu0网桥将成为工作网卡,外部主机可以直接SSH访问,具体为如下内容:
1
2
3
4
5
6
7
8
9
10
11
12
13
14
15
16
17
18
19
20
21
22
23
root@develop:/etc/netplan# cat 01 -qemu0.yaml network: version: 2 renderer: networkd ethernets: ens33: dhcp4: false dhcp6: false bridges: qemu0: macaddress: 2e:fa:d5:03:39:c7 dhcp4: no dhcp6: no addresses: - 192.168 .0 .220 /24 routes: - to: default via: 192.168 .0 .1 nameservers: addresses: - 8.8 .8 .8 interfaces: - ens33
键入netplan apply后可能遇到类似如下警告:
1
2
3
** (generate:2496): WARNING **: 05:24:24.943: Permissions for /etc/netplan/01-network-manager-all.yaml are too open. Netplan configuration should NOT be accessible by others. Cannot call openvswitch: ovsdb-server.service is not running.
解决方案:
1
2
3
chmod 600 /etc/netplan/your_config_file.yaml apt install openvswitch-switch -y
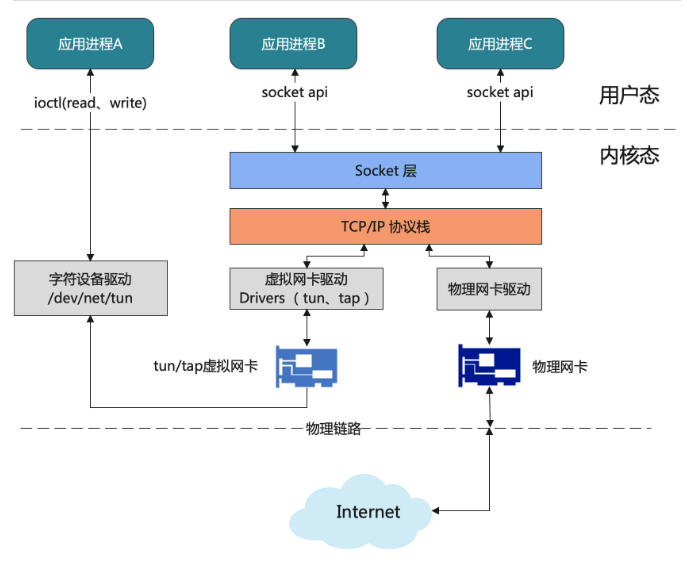
tun/tap网络设备 Tun/tap设备提供的虚拟网卡驱动,从tcp/ip协议栈的角度而言,它与真实网卡驱动并没有区别。这里需要通过TAP的方式进行网络通信。具体TAP的理解可以查看文末参考部分列出的文章《【云原生虚拟化】一文读懂网络虚拟化之 tun/tap网络设备》。这里先借用文章中的一张图,便于理解。
将tap0和qemu0关联起来:
1
2
3
ip tuntap add dev tap0 mode tap ip link set tap0 up ip link set tap0 master qemu0
上述这几步会在Vmware虚拟机关闭或者重启后失效,如有需要编写脚本进行自动化。qume支持类似如下配置在启动时携带脚本:
1 -net nic -net tap,ifname=tap0,script=no,downscript=no
启动虚拟机 1 qemu-system-aarch64 -m 4096 -cpu cortex-a57 -smp 4 -M virt -bios QEMU_EFI.fd -nographic -device virtio-scsi-device -drive if=none,file=ubuntu2204_arm64.img,format=raw,index=0,id=hd0 -device virtio-blk-device,drive=hd0 -net nic -net tap,ifname=tap0,script=no,downscript=no
开机后默认会自动获取DHCP IP,通过netplan设置静态IP即可:
1
2
3
4
5
6
7
8
9
10
11
12
13
14
root@develop-qemu-arm:/etc/netplan# cat 00 -installer-config.yaml network: version: 2 renderer: networkd ethernets: enp0s1: addresses: - 192.168 .0 .226 /24 nameservers: addresses: [8.8 .8 .8 ] routes: - to: default via: 192.168 .0 .1
注:到此处配置完成后,Ubuntu 2204 X86_64的Vmware虚拟机192.168.0.220和QEMU模拟的ARM环境虚拟机192.168.0.226都是可以直接在宿主机192.168.0.106上进行SSH操作的,非常方便。
查看一些系统信息:
1
2
3
4
5
6
7
8
9
10
11
12
13
14
15
16
17
18
19
20
21
22
23
24
25
26
27
28
29
30
31
32
33
34
35
36
37
38
39
40
41
42
develop@develop-qemu-arm:~$ df -h Filesystem Size Used Avail Use% Mounted on tmpfs 391M 936K 390M 1% /run /dev/vda2 29G 6.8G 21G 26% / tmpfs 2.0G 0 2.0G 0% /dev/shm tmpfs 5.0M 0 5.0M 0% /run/lock /dev/vda1 1.1G 6.4M 1.1G 1% /boot/efi tmpfs 391M 4.0K 391M 1% /run/user/1000 develop@develop-qemu-arm:~$ lscpu Architecture: aarch64 CPU op-mode(s): 32-bit, 64-bit Byte Order: Little Endian CPU(s): 4 On-line CPU(s) list: 0-3 Vendor ID: ARM Model name: Cortex-A57 Model: 0 Thread(s) per core: 1 Core(s) per cluster: 4 Socket(s): - Cluster(s): 1 Stepping: r1p0 BogoMIPS: 125.00 Flags: fp asimd evtstrm aes pmull sha1 sha2 crc32 cpuid NUMA: NUMA node(s): 1 NUMA node0 CPU(s): 0-3 Vulnerabilities: Gather data sampling: Not affected Itlb multihit: Not affected L1tf: Not affected Mds: Not affected Meltdown: Not affected Mmio stale data: Not affected Retbleed: Not affected Spec rstack overflow: Not affected Spec store bypass: Vulnerable Spectre v1: Mitigation; __user pointer sanitization Spectre v2: Vulnerable Srbds: Not affected Tsx async abort: Not affected
这里安装一个最新版本的docker后,查看docker版本信息:
1
2
3
4
5
6
7
8
9
10
11
12
13
14
15
16
17
18
19
20
21
22
23
24
25
26
27
28
root@develop-qemu-arm:/home/develop# docker version Client: Docker Engine - Community Version: 26.0.1 API version: 1.45 Go version: go1.21.9 Git commit: d260a54 Built: Thu Apr 11 10:54:01 2024 OS/Arch: linux/arm64 Context: default Server: Docker Engine - Community Engine: Version: 26.0.1 API version: 1.45 (minimum version 1.24) Go version: go1.21.9 Git commit: 60b9add Built: Thu Apr 11 10:54:01 2024 OS/Arch: linux/arm64 Experimental: false containerd: Version: 1.6.31 GitCommit: e377cd56a71523140ca6ae87e30244719194a521 runc: Version: 1.1.12 GitCommit: v1.1.12-0-g51d5e94 docker-init: Version: 0.19.0 GitCommit: de40ad0
使用完通过shutdown -h now关机,完成后qemu程序会自动退出。
参考 1、https://blog.csdn.net/v6543210/article/details/124276623 https://quard-star-tutorial.readthedocs.io/zh-cn/latest/ext3.html https://mp.weixin.qq.com/s/bGY7BJdIz3SE491SclKRMQ https://blog.csdn.net/u011011827/article/details/129771760